
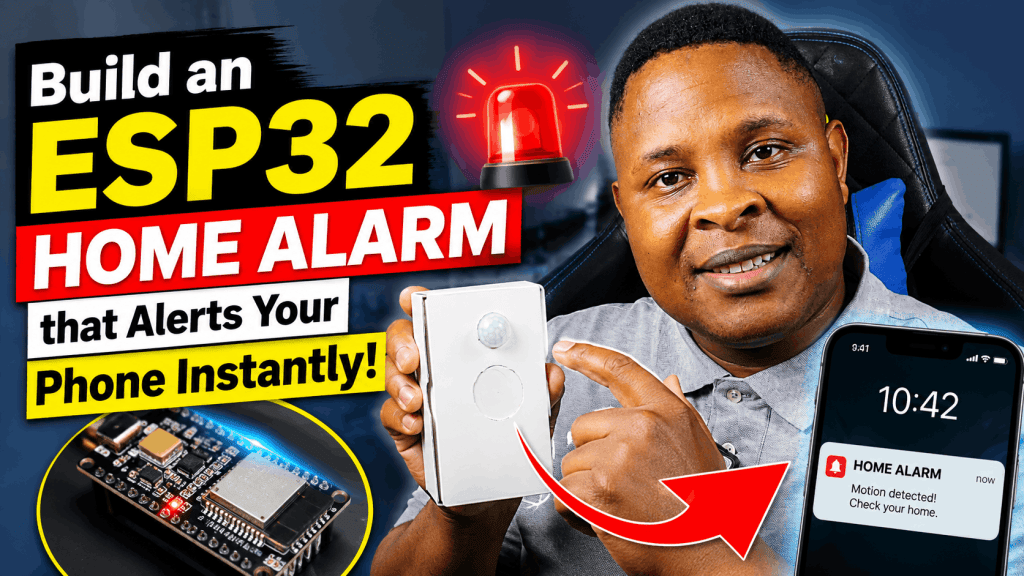
Have you ever wanted to know if someone is sneaking into your room, or monitor when a specific area of your house is occupied? Building your own smart home security system is easier than you might think.
In this tutorial, we are going to build a DIY motion-activated alarm using an ESP32 and a PIR motion sensor, powered by the Arduino IoT Cloud.
We will actually build two different versions of this project:
-
The Silent Monitor (100% Free): A stealthy dashboard that logs exactly what time someone entered the room and graphs the activity.
-
The Instant Alarm (Requires Premium – 30 Days Free): A full security system that sends a push notification to your phone and an email to your inbox the second motion is detected.
You can also watch the video tutorial below:
What You Will Need
To build this project, you only need a few cheap components:
-
ESP32 Development Board (Any standard ESP32, like the WROOM-32)
-
HC-SR501 PIR Motion Sensor
-
3 Female-to-Female Jumper Wires
-
Micro-USB or USB-C Cable (Make sure it is a data cable, not just for charging)
The Wiring
The HC-SR501 is incredibly easy to wire. Pop off the white plastic dome to see the pin labels, and connect them directly to your ESP32:
| PIR Sensor | ESP32 Pin | Function |
| VCC | VIN (or 5V) | Powers the sensor |
| OUT (Middle) | GPIO 33 | Sends the motion signal |
| GND | GND | Ground |
Project 1: The Silent Room Monitor (Free Tier)
This version uses the free tier of the Arduino IoT Cloud. It doesn’t send push notifications, but it gives you a live dashboard on your phone or computer where you can check if a room is currently occupied, see the exact time it was last entered, and view a historical graph of activity.
Step 1: Set Up the Cloud Variables
Log into the Arduino IoT Cloud and create a new Thing. Name it “Room Monitor”. Connect your ESP32 board in the Network section, and then create these three variables exactly as written:
-
roomOccupied(Type: Boolean, Permission: Read Only, Update: On Change) -
lastMovementTime(Type: Character String, Permission: Read Only, Update: On Change) -
activityLevel(Type: Integer Number, Permission: Read Only, Update: On Change)
Step 2: Build the Dashboard
Go to the Dashboards tab and create a new dashboard to visualize your data:
-
Add an LED widget and link it to
roomOccupied. (Lights up when someone is there). -
Add a Value widget and link it to
lastMovementTime. (Shows the timestamp). -
Add a Chart widget and link it to
activityLevel. (Draws a timeline graph of intrusions).
Step 3: The Code
Go to the Sketch tab. You will need to include the NTPClient library (search for it in the library manager on the left menu). Replace the default code with this:
C++
#include "thingProperties.h"
#include <NTPClient.h>
#include <WiFiUdp.h>

const int pirPin = 33;

// Setup for the NTP Time Client (SAST UTC+2 = 7200 seconds offset)
// Adjust the 7200 for your own time zone!
WiFiUDP ntpUDP;
NTPClient timeClient(ntpUDP, "pool.ntp.org", 7200, 60000);

void setup() {
  Serial.begin(115200);
  pinMode(pirPin, INPUT);

  initProperties();
  ArduinoCloud.begin(ArduinoIoTPreferredConnection);
  setDebugMessageLevel(2);
  ArduinoCloud.printDebugInfo();
}

void loop() {
  ArduinoCloud.update();

  // Only update time if connected to Wi-Fi to prevent crashes
  if (ArduinoCloud.connected()) {
    static bool timeStarted = false;
    if (!timeStarted) {
      timeClient.begin();
      timeStarted = true;
    }
    timeClient.update();
  }

  int pirState = digitalRead(pirPin);

  // When motion is detected
  if (pirState == HIGH && !roomOccupied) {
    Serial.println("Motion detected!");

    roomOccupied = true;       // Turns on dashboard LED
    activityLevel = 1;         // Spikes the graph UP

    if (ArduinoCloud.connected()) {
      lastMovementTime = timeClient.getFormattedTime(); // Updates text time
    }
  }

  // When motion stops
  else if (pirState == LOW && roomOccupied) {
    Serial.println("Area clear.");

    roomOccupied = false;      // Turns off dashboard LED
    activityLevel = 0;         // Drops the graph DOWN
  }
}
Upload the code, open your dashboard, and wave your hand in front of the sensor. You now have a working security log!
Project 2: The Instant Push-Notification Alarm
If you want your phone to buzz with an alert the absolute second someone opens your door, you need to use the Arduino Cloud Triggers feature.
Note: The Triggers feature requires the Arduino Cloud Maker plan (Premium). However, Arduino offers a free 30-day trial of the Maker plan, so you can test this out completely risk-free!
Step 1: Set Up the Alarm Variables
Create a new Thing and call it “Home Alarm”. Because the cloud handles the heavy lifting, we only need one variable this time:
-
alarmTriggered(Type: Boolean, Permission: Read & Write, Update: On Change)
Step 2: Configure the Cloud Triggers
This is where the magic happens. Look at the left-hand menu in Arduino Cloud and click on Triggers.
-
Click Create Trigger.
-
Condition: If
alarmTriggeredbecomestrue. -
Action: Select Push Notification.
-
Message: “🚨 INTRUDER ALERT: Motion detected!”
-
(Optional: You can create a second trigger with the exact same condition, but set the action to Email to get dual alerts!)
Make sure you download the free Arduino IoT Cloud Remote app on your iOS or Android device and allow notifications.
Step 3: The Code
Because the Cloud Triggers do all the hard work in the background, our ESP32 code becomes incredibly clean. Paste this into your Sketch tab:
C++
#include "thingProperties.h"

const int pirPin = 33; // GPIO pin connected to the PIR sensor

void setup() {
  Serial.begin(115200);
  pinMode(pirPin, INPUT);

  initProperties();
  ArduinoCloud.begin(ArduinoIoTPreferredConnection);
  setDebugMessageLevel(2);
  ArduinoCloud.printDebugInfo();
}

void loop() {
  ArduinoCloud.update();

  int pirState = digitalRead(pirPin);

  // If motion is detected and the alarm isn't already active
  if (pirState == HIGH && !alarmTriggered) {
    Serial.println("Motion detected! Triggering alarm...");

    // Setting this to true fires the Cloud Triggers (Push & Email)
    alarmTriggered = true;
  }

  // If motion stops
  else if (pirState == LOW && alarmTriggered) {
    Serial.println("Area clear. Resetting alarm.");

    // Resetting to false prepares the system for the next detection
    alarmTriggered = false;

    // A 5-second delay to prevent rapid-fire notifications
    delay(5000);
  }
}

/*
  Required empty callback for the Read & Write variable
*/
void onAlarmTriggeredChange() {
  // We handle the logic in the loop, so this stays empty
}